Wednesday, May 11, 2011
Tip: Water on hand
I have found that having one or two water bottles with 'pull-out' lids to be quite handy in the kitchen. When you just need to add a squirt of water to a dish this is very useful since you won't put too much at once. I also use it to add water to the kids' tea to cool it down.
Friday, April 22, 2011

Sunday, March 20, 2011
Nicole's Brownies
Got this brilliant, sticky, crunchy brownie recipe from a friend:
100g butter
50g cocoa powder
2 eggs
225g castor sugar
1 tsp vanilla essence
50g self-raising flour
100g slab chocolate (I like using the one with hazelnuts) - roughly chopped
Spray a square (+/- 23cm) tin or glass dish with non-stick spray.
Pre-heat oven to 180C
Melt the butter in the microwave (careful not to boil it). Add the cocoa powder and mix well until no lumps are left.
Beat the eggs and add the castor sugar. Beat well until the mixture is light yellow and fluffy. Ad the cocoa mixture to the eggs and sugar and add the vanilla essence. Sift in the flour (yes it's 0nly 50g self-raising) and add the chocolate bits last.
Pour into the dish and slightly flatten with a spatula. Mixture is slightly stiff. Bake for 25-30 mins.
Can be served within 5-10 minutes with vanilla ice cream but is also delicious the next day as a crumbly, sticky, crunchy brownie :D
ENJOY!
Thanks Nicole!
Saturday, February 19, 2011
Flower garden cake
It is "baby" sister's birthday today and she asked for a cake! Here's the flower garden idea from http://familyfun.go.com/recipes/flower-power-cake-685974/
For the 'flowers' I bought small ready-made cupcakes from Pick n Pay, removed the paper wrapping, cut the bottom half off and in the case of the pink ones, removed the icing and re-iced with my own pink butter icing. They are then decorated with all kinds of sweets to your heart's desire.
Little tip: Place the cake on top of pretty, good quality and waxy gift wrap paper. Tuck waxy baking paper in along the sides BEFORE you start icing to catch the 'overflow' and then just gently pull the wax paper out when finished. This protects the bottom paper.
A sweet and easy success.


Friday, February 18, 2011
Moist or Pretty - You pick
BEFORE:

AFTER:


It seems you can either have a moist cake (and plain) or a pretty cake (and stale)... I'm definately planning on doing more research on this! Cake was baked on Wednesday, cut on Thursday afternoon, built and iced on Thursday evening, and fell apart by Friday morning!
AFTER:
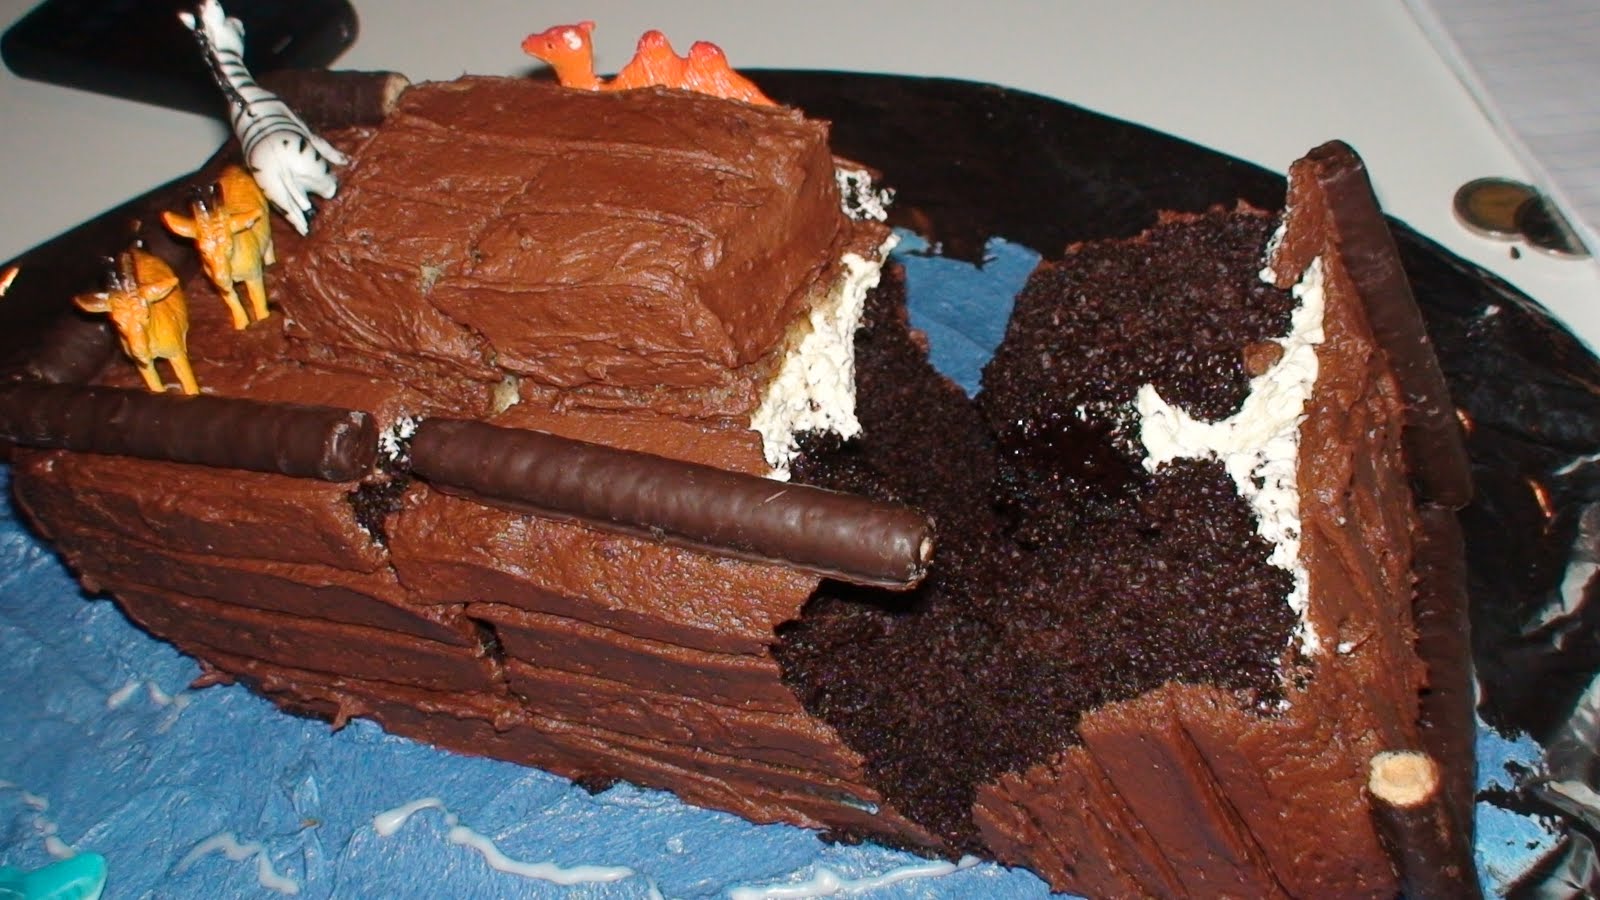
I piped some more chocolate icing on the one end and glued the piece back and am now propping the two sides up with muffins ;) Dear Daughter does not seem to mind. She says she LOVES IT :D
I do wonder what Cake Boss's cakes actually taste like!
Thursday, February 10, 2011
A little something different: Decor for Valentines
Something to go with that special Valentine's dinner? We made these paper heart chandelliers for dear Daughter's 4th birthday which conveniently falls in February :) She wanted a heart-themed birthday (see cake on previous post).


Monday, February 7, 2011
Stuffed Artichokes
The first time I had artichokes was about 9 years ago. Since that time I had always looked out for them but could never find any. And then I saw them this artichoke season at Woolworths. Hubby was ecstatic. I'm not one for repeating something that was already said well enough by others so pardon the links:

How to cook and eat an artichoke from the pages of simplyrecipes.com
The only difference we do is that we stuff it.
It has been suggested that you steam the artichokes for HALF the time, let them cool, then stuff them and complete the steaming until the leaves are loose.
IMPORTANT NOTE: Before you start steaming them, hold them by the stalk, and point the head down and give it a couple of hard knocks on the preparation surface. It will loosen the leaves for stuffing later. My kids loved doing this :)
Our stuffing (enough for 2 artichokes):
- Bread crumbs from 4 pieces of dried bread (dry white bread in toaster on lowest setting, cool, cut off crusts and put in food blender until fine crumbs)
- One packet of parma ham (about 5 thin slices) - cut into small pieces (you can even then add it to the blender with the crumbs. It mixes it nicely.
- 1 tsp chopped garlic (or more to taste)
- 1/2 - 3/4 cup grated parmesan or we prefer something like provolone or pecorino.
- A little freshly ground black pepper
- Pinch of salt
Stuff this into the inside of each of the larger artichoke leaves:
Place the artichokes upright into a heavy-base pot (preferably one that can also go into the oven) and finish steaming them.
TIP: put a bay leaf into the water. It gives the artichokes a beautiful aroma.

When you finished steaming them (in total I gave them 50min - 1hr), you put them in the oven under a hot grill and quickly grill the tops. It makes the top of the stuffing nice and crispy.
NOTE: These CAN be made in advance and heated in the microwave. Works like a charm.
Subscribe to:
Comments (Atom)